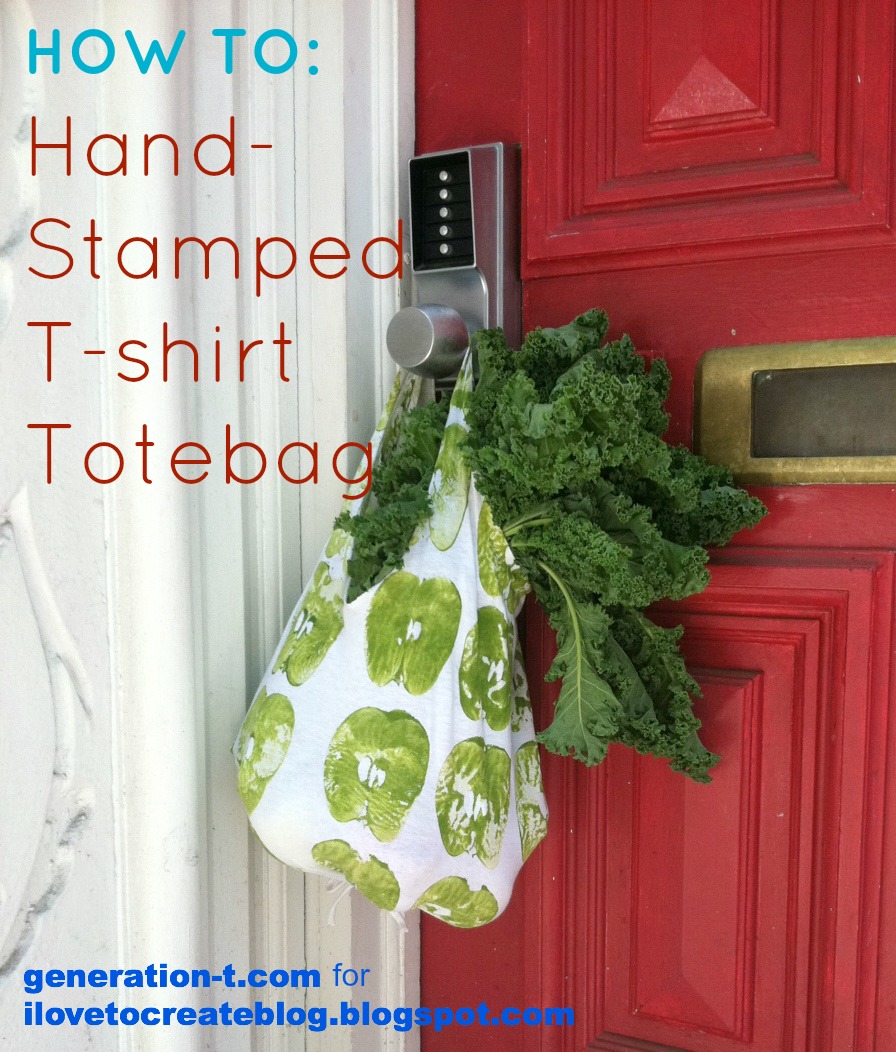
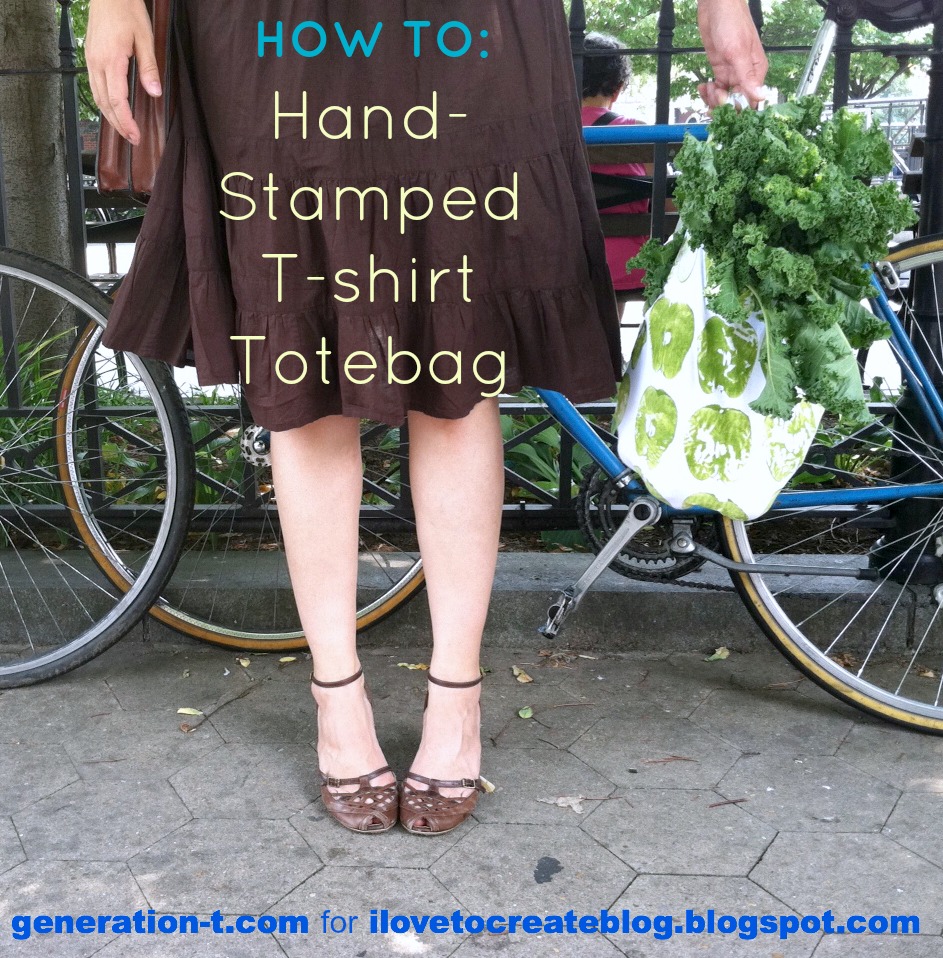
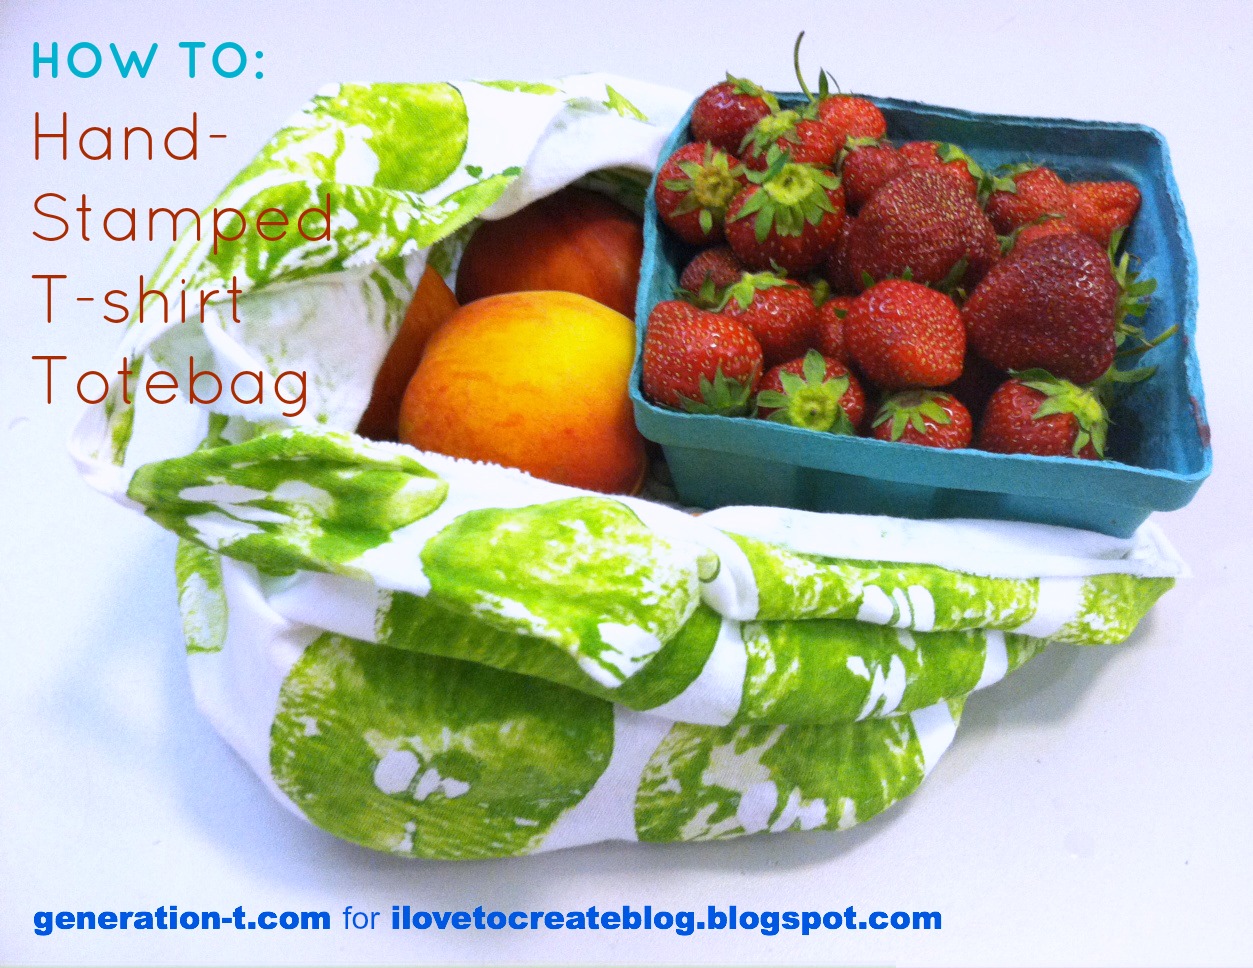
Move over potato stamping! There are some other fruits and veggies that want in on the action. Printing with fruits and veggies is nothing new -- but when applied to a grocery or green market bag, you get a tote that forecasts what should go inside (apples, onions, peppers, celery, corn...). Not to mention, you can construct this sturdy bag from an old T-shirt without sewing--a single safety pin is the closest you'll get to any specialty tools. I worked out the bag particulars while I was in residency at a workshop up in NH (I've since discovered a great tutorial for a very similar technique by Lee Meredith over at Leethal.net, which I imagine works particularly well for larger T-shirts, where the bottom bunching can be redistributed between several gathers). And I was inspired to use an apple after seeing Kayte Terry's lovely apple-printed tote (I wish my apple had had a stem on it!).


What You Need:
-Plain old T-shirt (I used a kid's size 6-8 for this particular one)
-Tulip Dimensional Paint or Tulip Soft Fabric Paint Tubes
-Plastic lid to use as a paint palette
-Half an apple (or bell pepper, or onion, or...) to use as a stamp
-Fabric scissors
-Safety pin
-Scrap paper
-Plain old T-shirt (I used a kid's size 6-8 for this particular one)
-Tulip Dimensional Paint or Tulip Soft Fabric Paint Tubes
-Plastic lid to use as a paint palette
-Half an apple (or bell pepper, or onion, or...) to use as a stamp
-Fabric scissors
-Safety pin
-Scrap paper
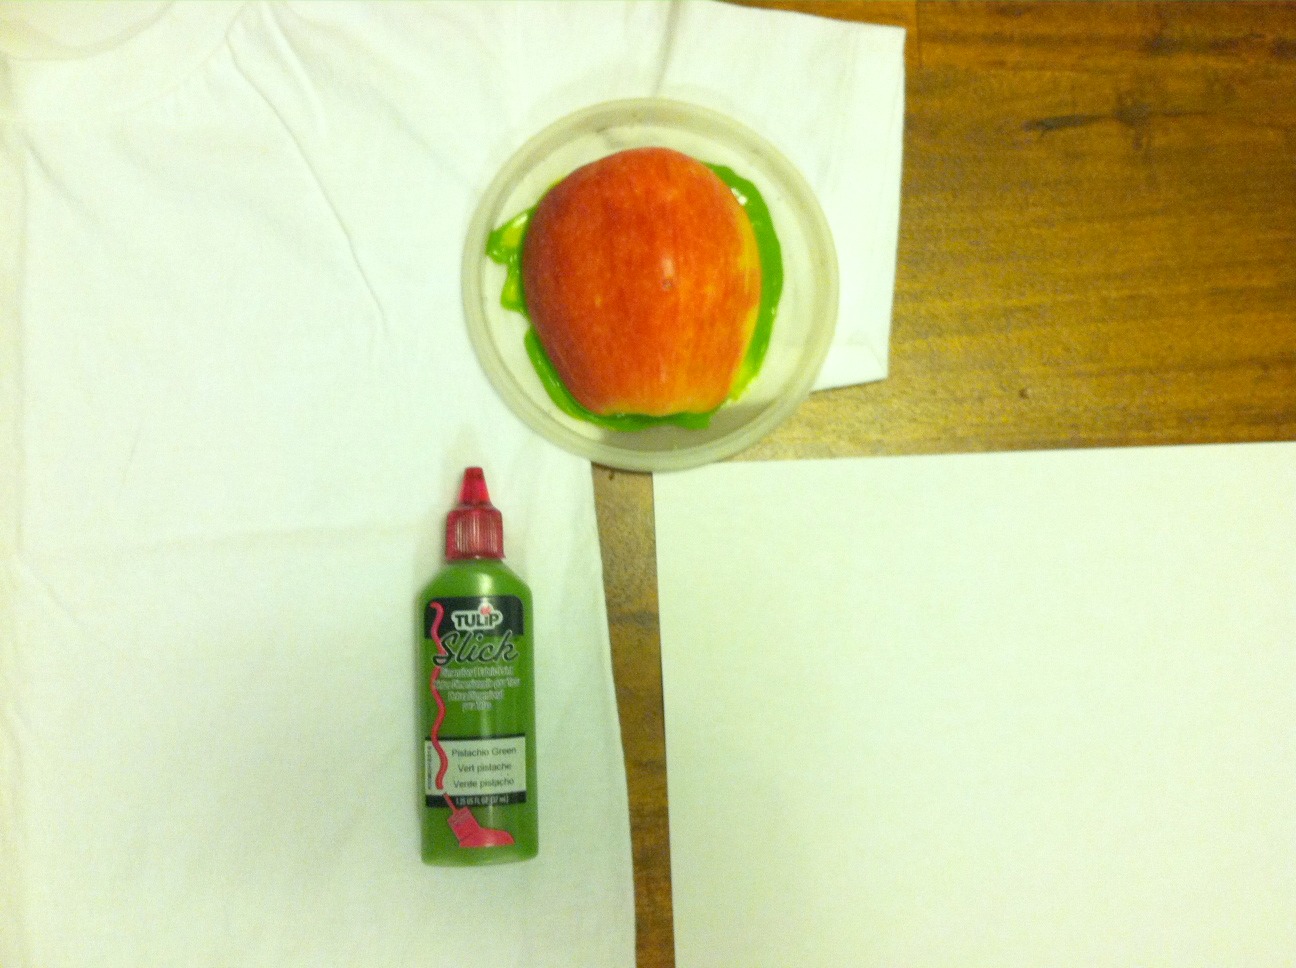
Insert sheets of scrap paper between the layers of the T-shirt so the colors won't bleed through. Squeeze a fairly generous amount of fabric paint onto your paint palette. Place the apple half flat side into the paint and slide it around to make sure it's covered. Make a test print on a scrap piece of paper or the sleeve of the T-shirt (which will be cut off) before printing on your shirt.
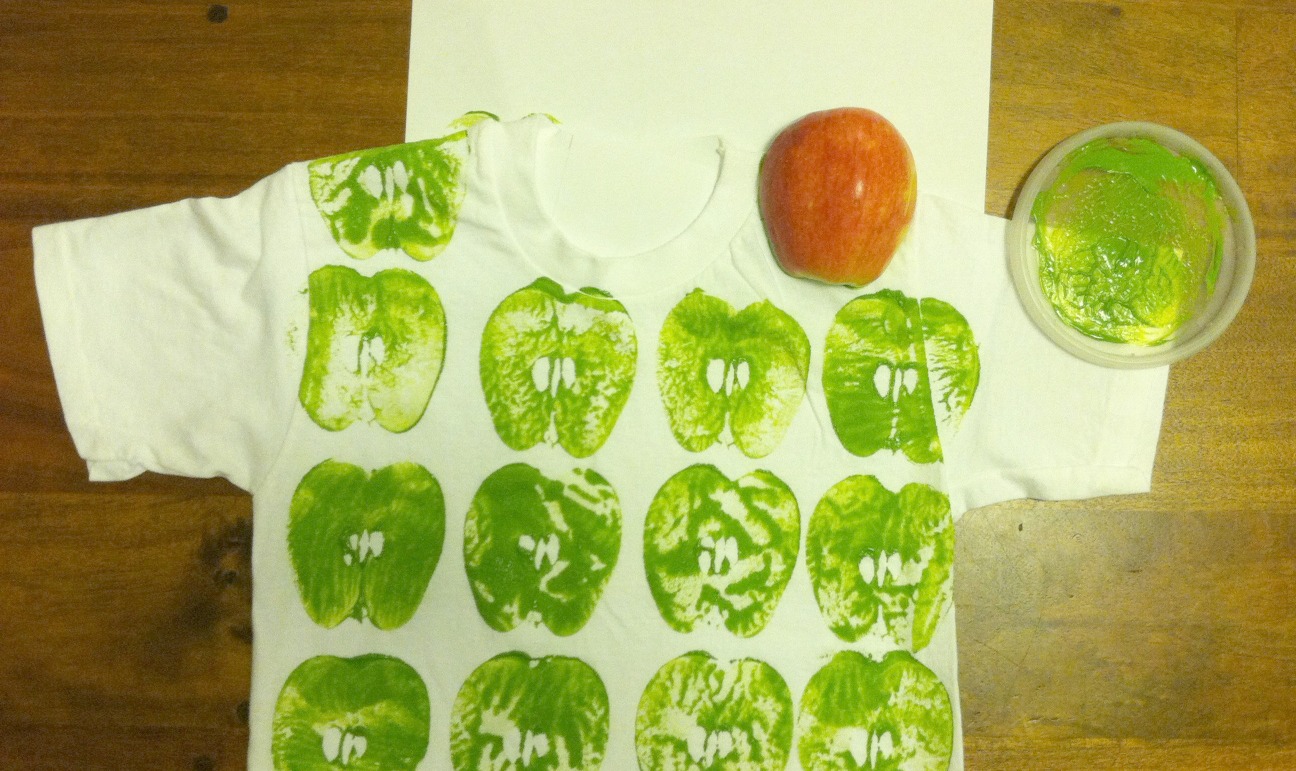
Then print away, starting at the bottom of the tee and working your way up to the shoulders. I re-inked between each pressing of the apple.
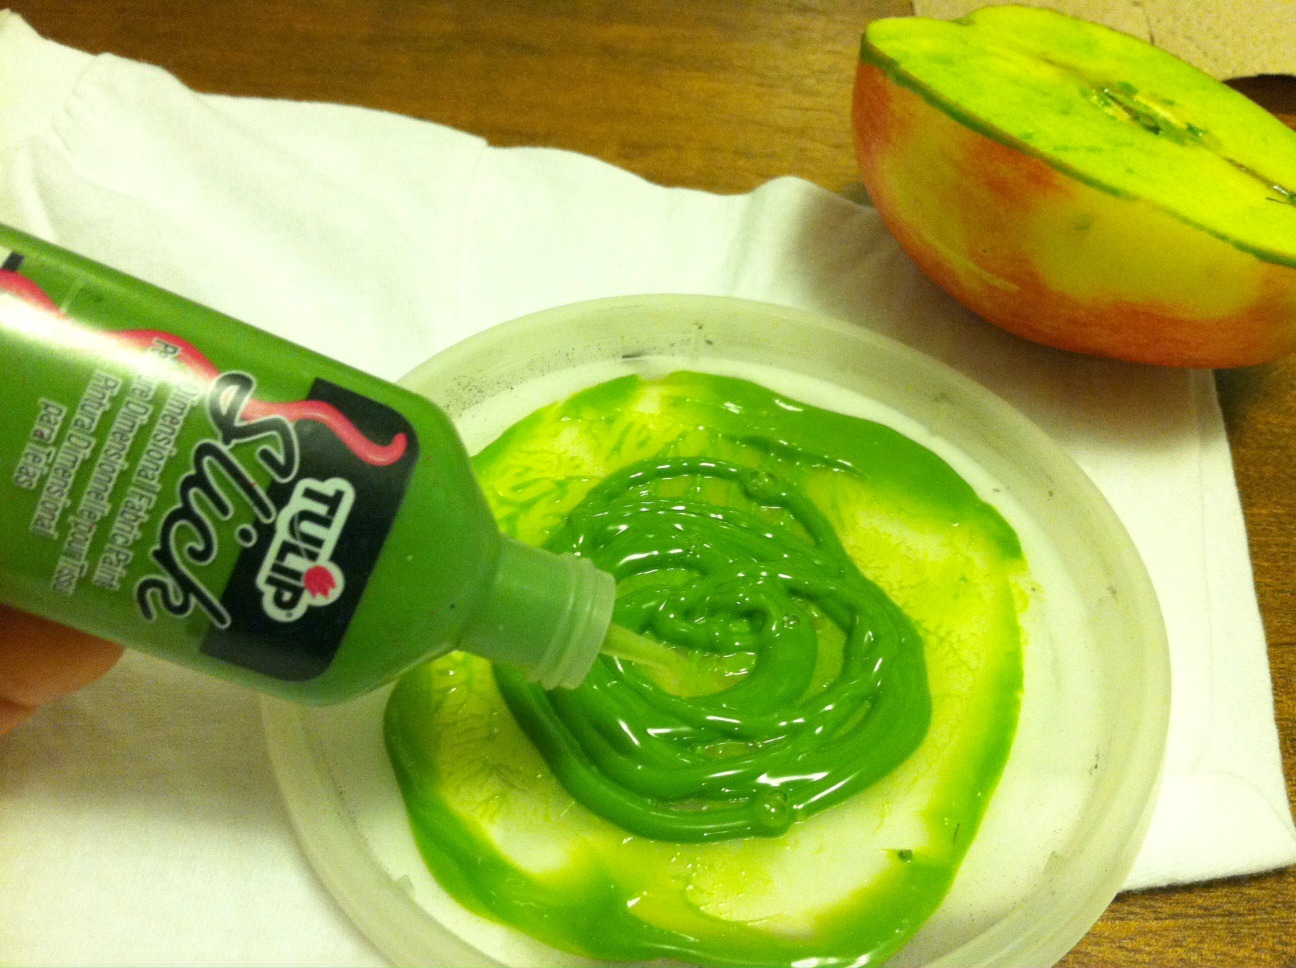
Reapply fabric paint to your palette as needed. When the front of the T-shirt is complete, let it dry partially (about 30 mins), then flip it over (onto a protective surface, in case not all the glue is dry) and stamp the back!
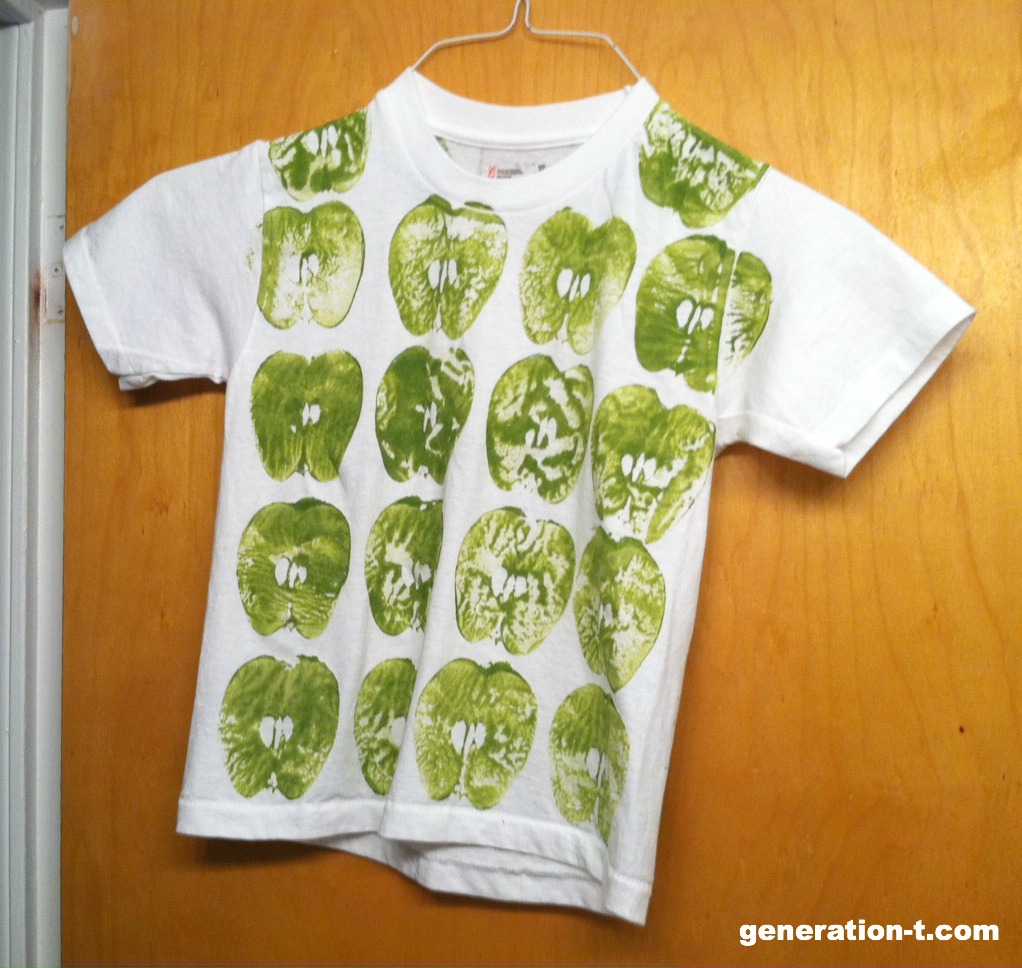
Hang the T-shirt to let it dry completely (and decide whether the T-shirt wants to stay a T-shirt now that it's been revived with color!).
If you choose to continue on to make the tote bag....
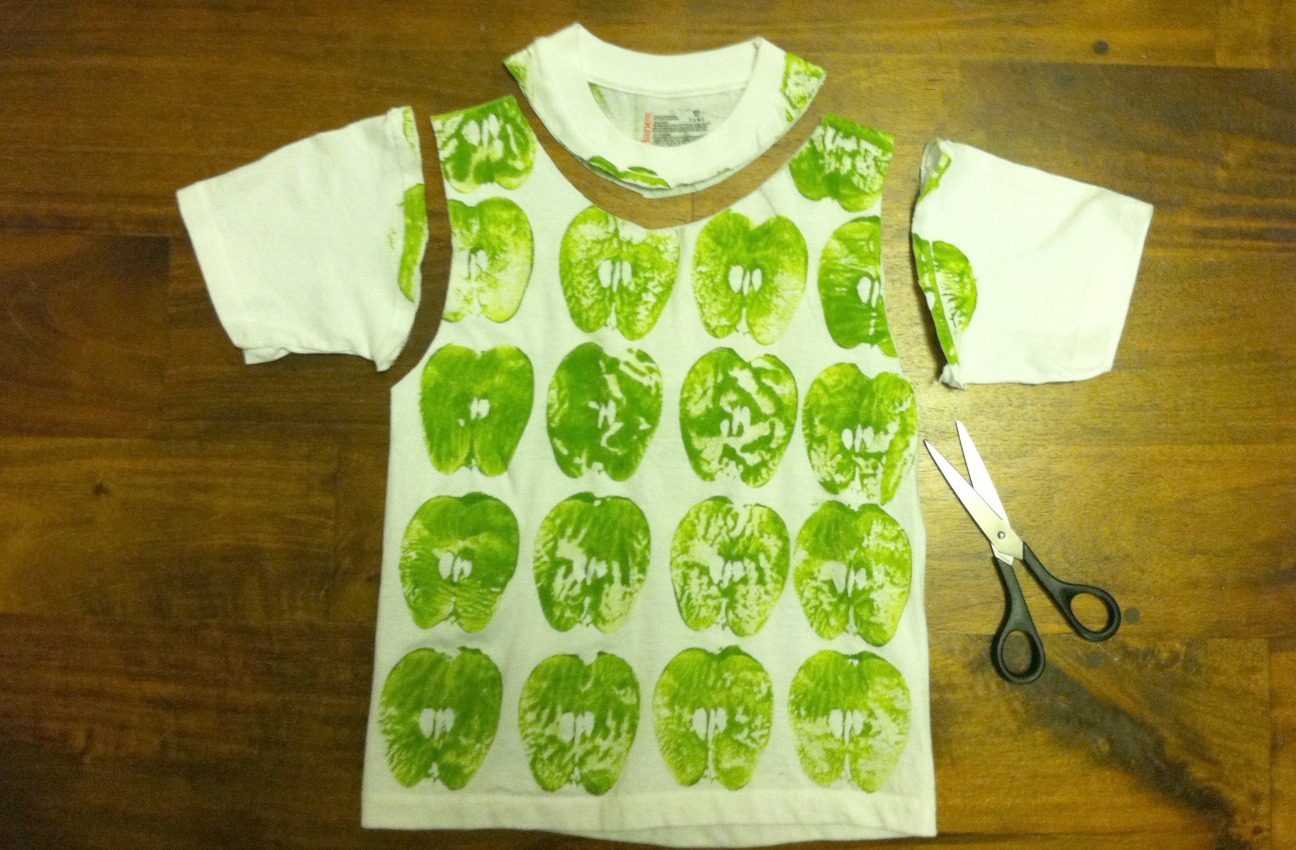
Cut off the sleeves of the T-shirt, just inside the shoulder seams. Then cut out the neckband in a gentle arc, going through both layers.
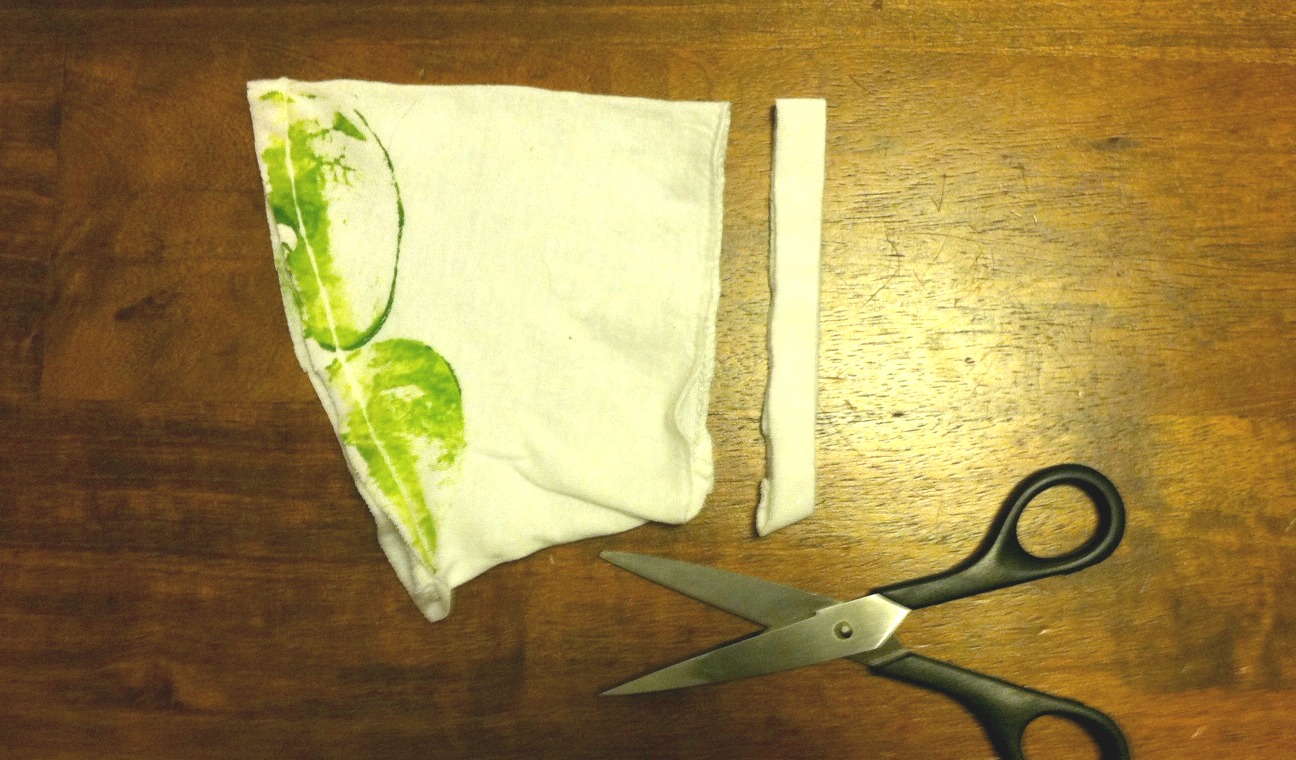
Cut off one of the T-shirt sleeve hems, just outside the seam (so that no stitching remains on the strip that you cut off), and cut through the loop to make a strip. Stretch it out, so it curls in on itself and becomes cord-like. Set it aside.
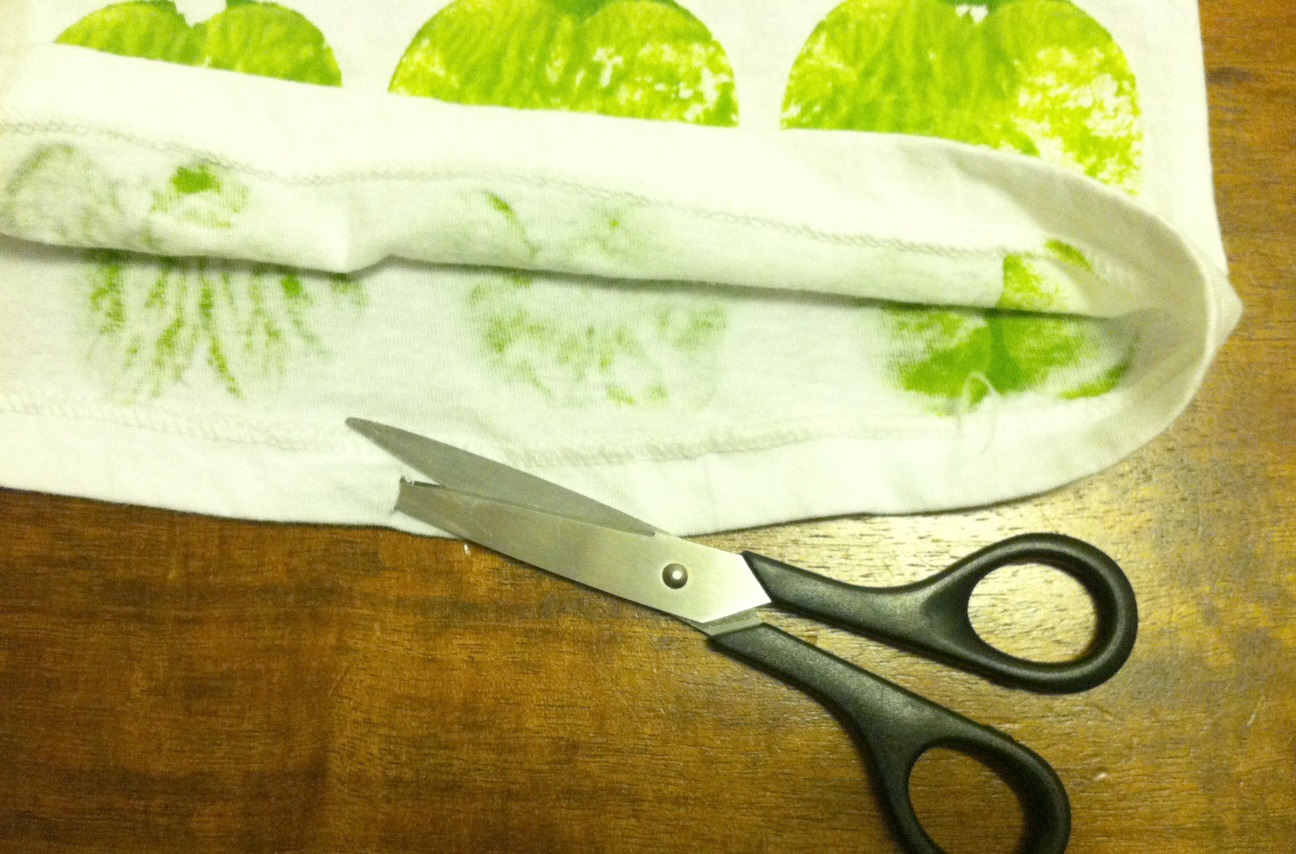
Use the tips of your scissors to snip a small hole through just the inside of the bottom hem of the T-shirt.
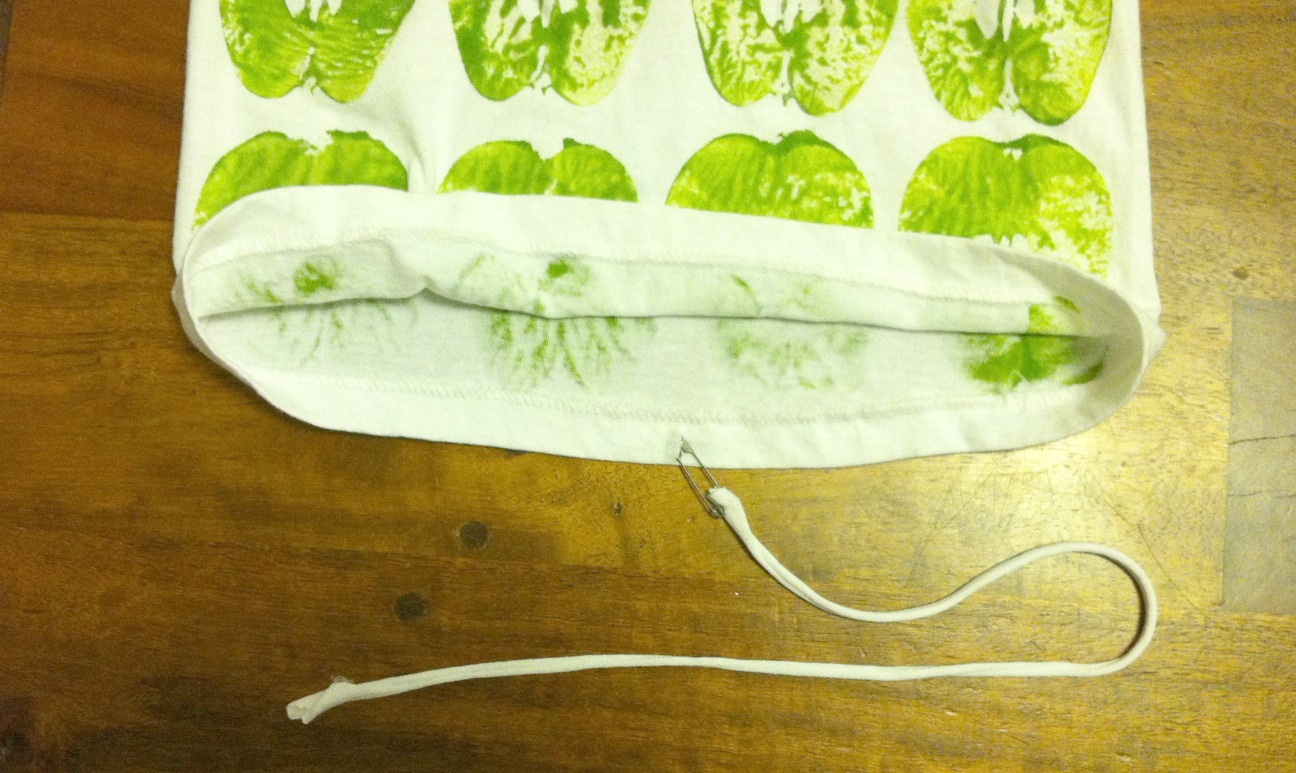
Attach the safety pin to one end of the cord and thread it through the hole in the hem.
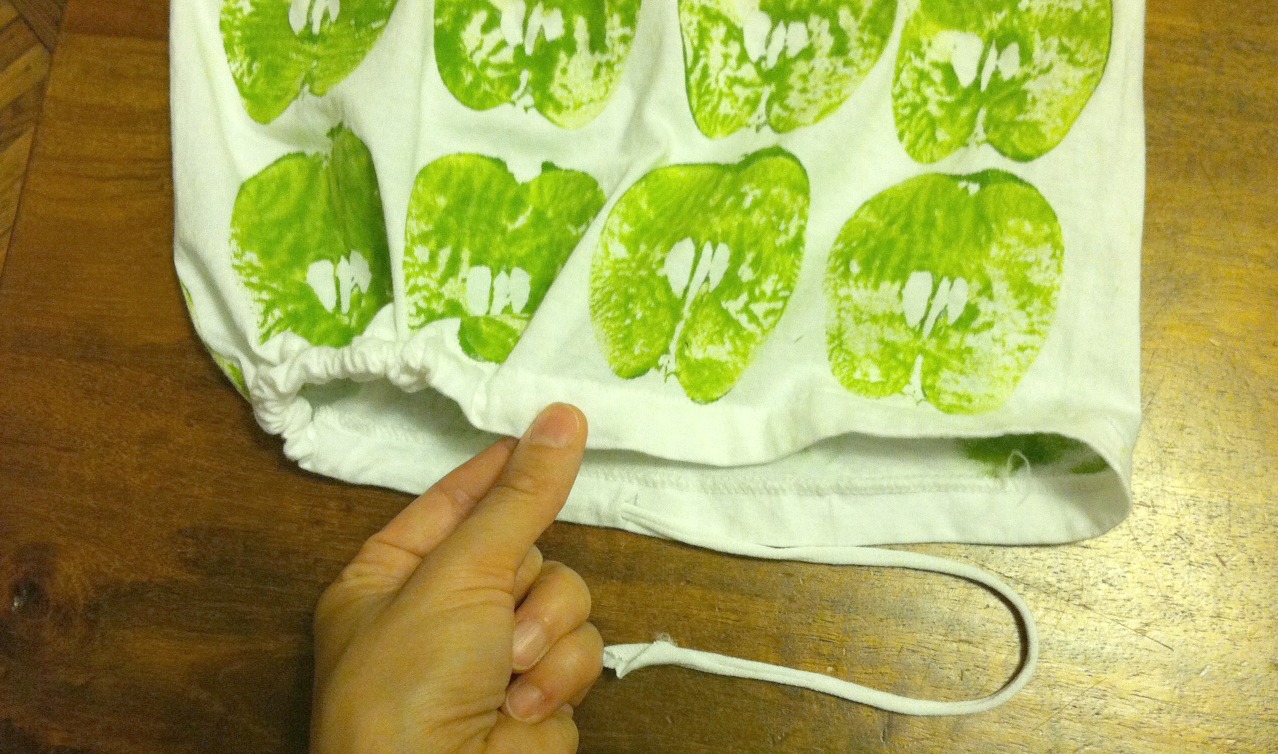
Inch it through, making sure you hold onto the non-safety-pinned end so it doesn't get lost in the hem casing.
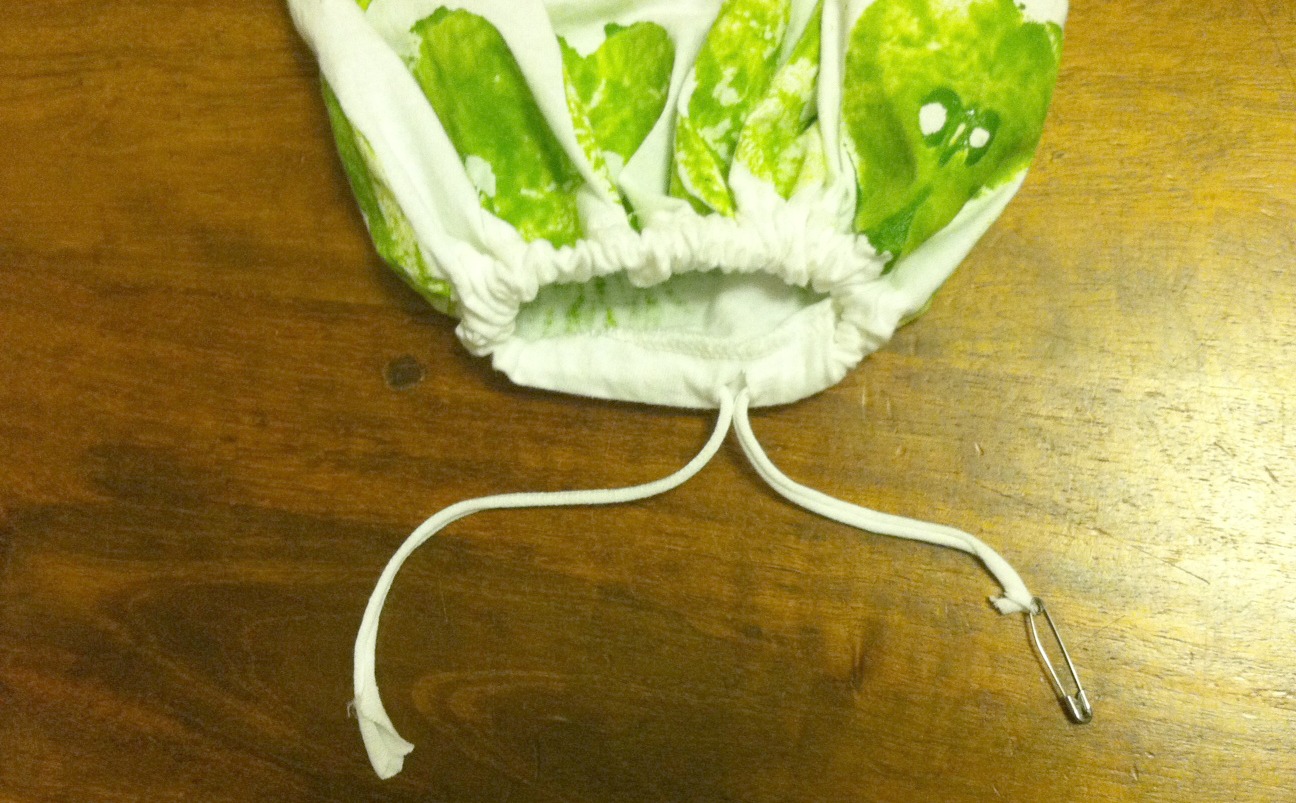
Pull both ends even, remove, the safety pin, and...
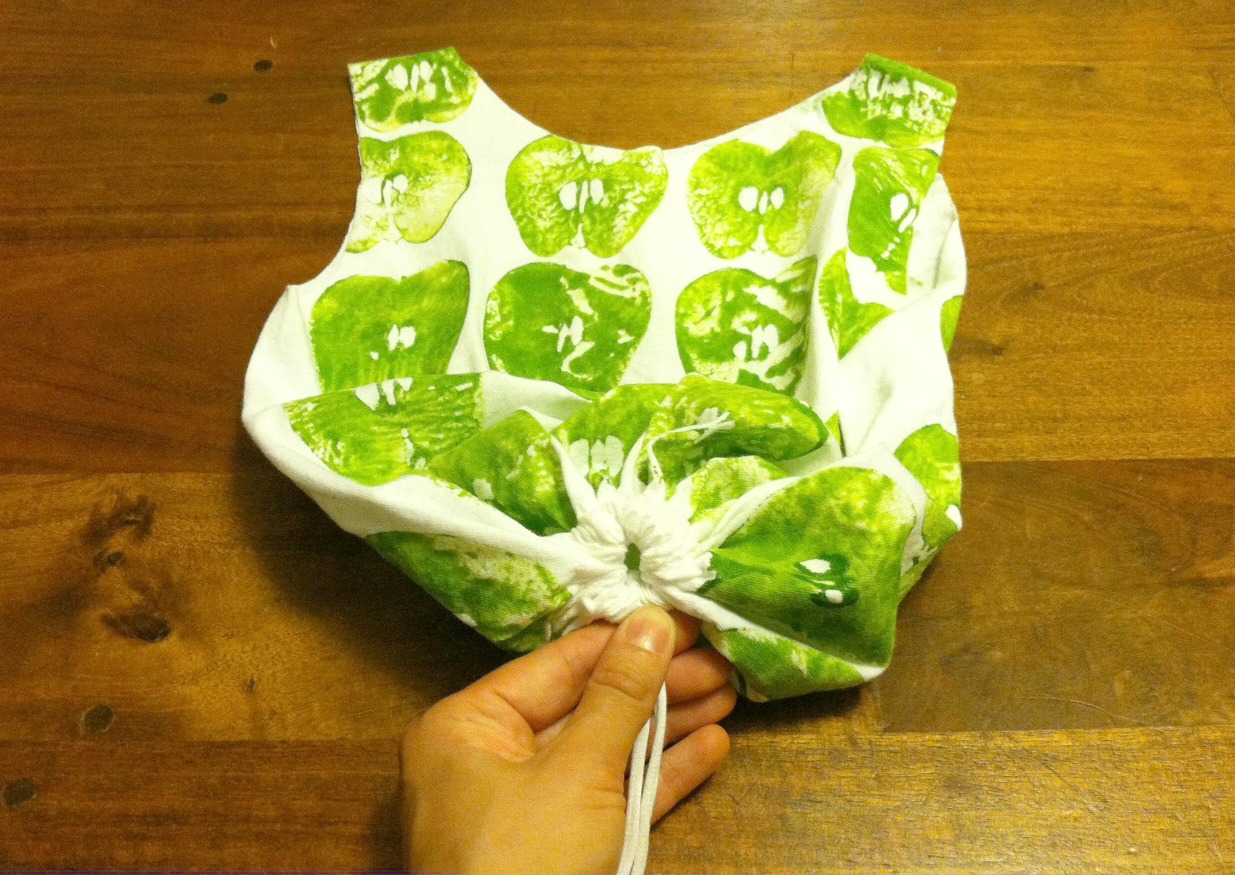
...pull tight the drawstring, so that the bottom hem gathers completely. Then tie it in a bow or a double knot.
Now here's to crumpling it up, stuffing it in your back pocket or purse, and hitting the farmer's market! See, now you can FILL it with fruits and veggies.
Don't forget to share your collected loot!

And stay tuned: Another veggie-printed, no-sew tote bag tutorial is coming your way over on Generation T next week!
And stay tuned: Another veggie-printed, no-sew tote bag tutorial is coming your way over on Generation T next week!


