Whenever I am at the boardwalk I see booths set up where you can get temporary glitter tattoos or other kinds of body art. As a little kid the thought of having glitter and butterflies all over my arms and face sounded rather delightful. Tulip’s body art is great because instead of paying someone for a one time tattoo you can get multiple stencils and colors that can be used time and time again. It is great for going to the beach, the pool, a party, or a sleepover with your friends. I have wanted to showcase Tulip Body Art in a tutorial for a long time now, so I hope you enjoy it and make some awesome designs of your own!
What you need:
Blue Glitter
Silver Glitter
Adhesive
Small brush
Large brush
Dragonfly Stencil
Body Crystals
Remove stencil from backing and adhere to skin. Rub gently to make sure there are no air pockets.
Brush glue on open areas of stencil. We left stencil on for the next step, you can opt to remove it according to instructions.
Dip brush into glitter and pounce/pat into stencil. A generous helping is good! We used blue for the body, head and wing tips and silver for the inside of the wings. You have to work quickly or the glue will dry. It is similar to eyelash adhesive.
Remove stencil. Use larger brush to gently brush off any excess glitter.
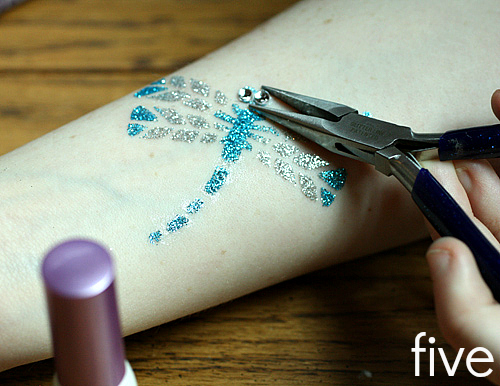
Use tweezers, pliers or a crayon to pick up crystals. Dip them into glue and gently adhere to eyes of dragonfly. Add more if you like!
That's it! These are so easy and fun! I'm going to bring them to my next sleepover and share them with my BFF! I really love them and best of all, I love that they last several days, but not forever.
We'd love to see what you do with Tulip Body Art! Visit us on
Facebook and share your photos. And visit my mom at
DIY Doyenne for more fashion and style!


.jpg)