I always bring a craft project when I visit my niece, Dorothy. One time it was
Embroidery Day, another it was
Felt Cat Ear Day...this time it was Tie-Day Day! Our goal, which we nobly chose to accept: to tie-dye an entire wardrobe. As you can see, we got pretty darn close...
So, despite all my T-shirt proclivities, I have to confess I actually have never tie-dyed in my adult life. I don't know what made me think that it would be so hard, but honestly, the only thing that could have made this easier was a nice picnic table outside to craft on (and that's just me asking for a luxurious upgrade).
The takeway: Tie-dye. Is. So. Easy.
I would go so far as to say it's foolproof! Next time you have a family reunion, skip ordering the printed T-shirts: Set up a tie-dye station for all the siblings and cousins--by morning, you'll have a full set of T-shirts perfect for a very colorful family portrait!
What You Need:-
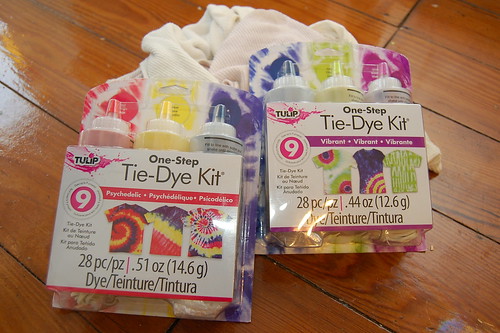
Tulip One-Step Tie-Dye Kit (color: "Vibrant" -- includes rubber bands, bottles, dyes, two pairs of plastic gloves, and an instruction/inspiration sheet)
-
Cotton things to dye: We picked T-shirts (in two sizes, for the two cousins), tights, and socks
-
plastic table cloth or plastic garbage bag to cover your work surface
-
paper towels-
plastic cling wrap or zip-lock bags
Note: If you're working with new T-shirts, pre-wash and dry them to make sure any shrinking that's going to happen has happened!
To start with, my niece picked the "Swirl" design from the instruction sheet that comes with the kit. Following the instructions, she pinched the fabric at the center of the T-shirt and twisted the T-shirt until she had a round little, swirled T-shirt "biscuit."
We wrapped the T-shirt swirl with 3 rubber bands (also included in the kit), and dampened it under running water, squeezing out the excess water. We cut open a plastic garbage bag to protect the floor and, armed with plenty of paper towels, we ended up preparing 4 T-shirts, 1 pair of tights, and 1 pair of socks to try out 5 different tie-dye styles that were described in the kit (we even did our own variation on one -- diagonal stripes!).
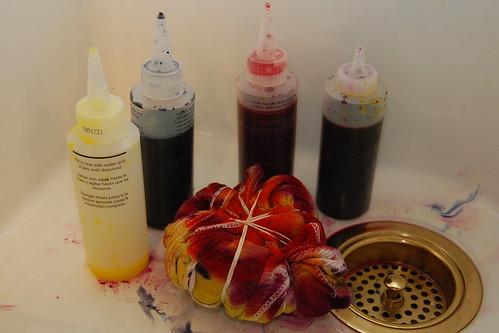
The powder dye comes already in the squeeze bottles; we filled the rest of the bottle with water up to the thick black line, put the top on tightly, and shook each bottle until the dye was mixed.
Dorothy squeezed the dyes onto the T-shirt segments (delineated by the rubber bands) one color and one segment at a time.
We wrapped each project in plastic cling wrap to sit overnight. Dorothy tie-dyed 2 kid-sized T-shirts and the pair of socks, I tackled the tights and a toddler-sized T-shirt, and Uncle Luke even got in on the action with another toddler-sized T-shirt. Note: The package says you can get up to 9 garments, but if you're crafting with kids, make sure to estimate for fewer, since they tend to be a bit generous when squeezing out the dye (in addition to our 7 garments, we had the most beautiful paper towels!).
We let the dye soak in overnight (6-8 hours minimum), but we had a busy day, so we left them wrapped up for longer. We unwrapped each project over the sink, and rinsed and squeezed out as much excess dye as possible. Then we peeled off the rubber bands, and gently shook out our masterpieces!
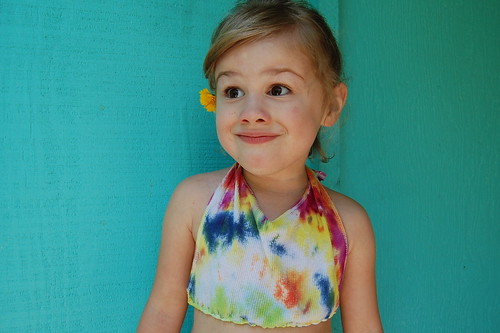
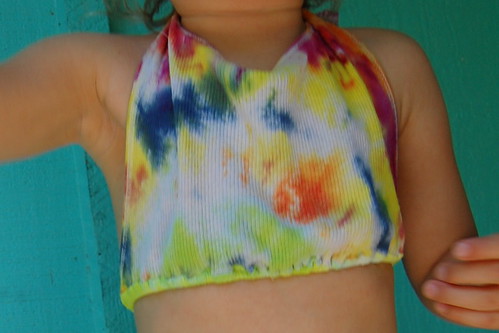
Dorothy was so excited/giddy/proud of the results of her T-shirt that she photo-bombed the picture! Since we had a whole batch of garments with the same color scheme, we tossed them all in the washing machine and dryer together to finish the process. After her cousin, Niko, woke up from his nap, it was time to try on the matching Swirl design tie-dye T-shirts!
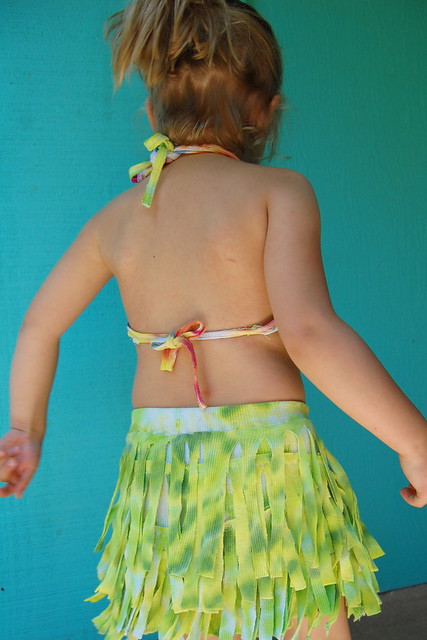
Because we were running low on dye by the time I did the tights, they're a little more pastel-colored in the back than the T-shirts, but the violet sunbursts on the front are perfect little rosettes (says Dorothy).
And because it didn't make sense to layer the socks over the tights (though she was tempted!) or layer the second T-shirts, we're saving the Bullseye T-shirt the Diagonal Stripes T-shirt and the Stripes Socks tie-dyes from our tie-dye extravaganza for tomorrow's coordinating cousin outfits.
Did I mention tie-dye is great for obscuring grass stains? An added bonus, for sure! There's definitely more tie-dye to come this summer -- and quite likely in my size this time.


")