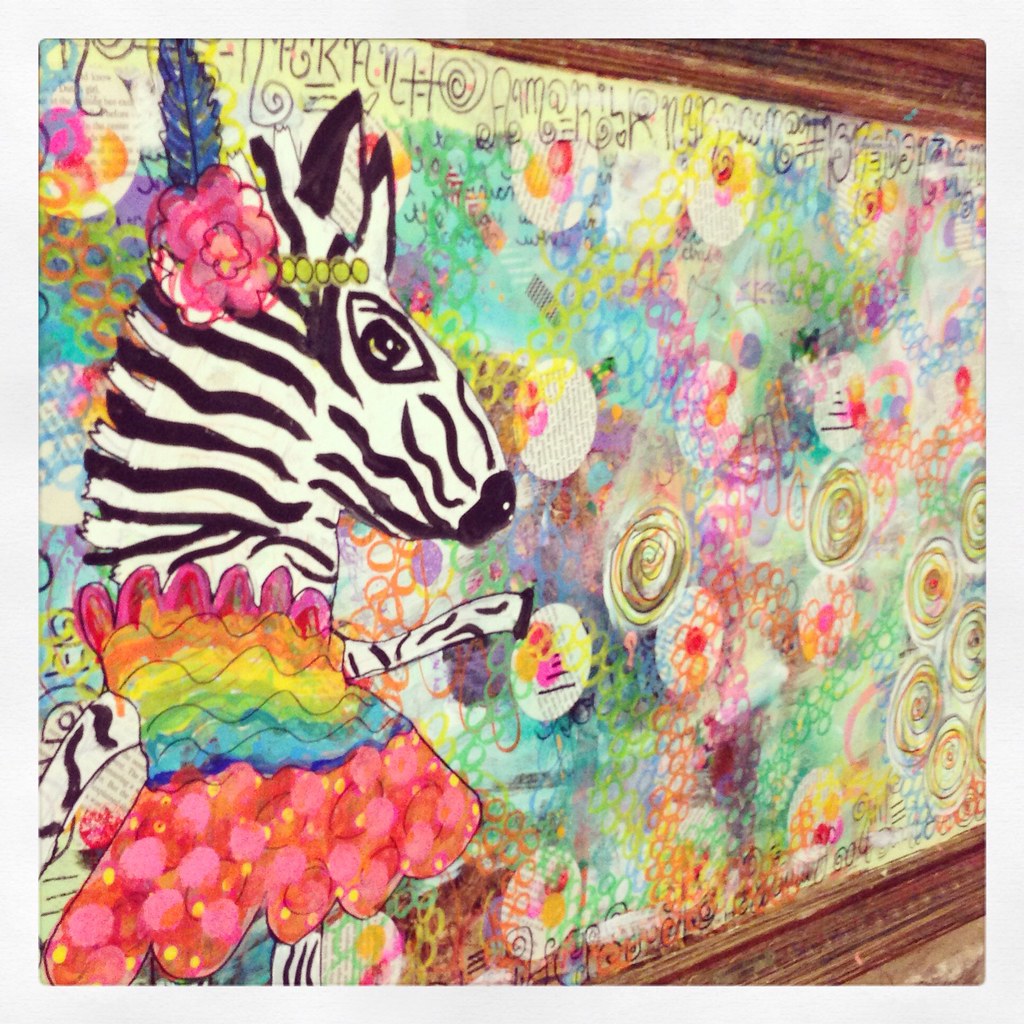
I have had this giant canvas living in my garage for quite sometime. I spotted the picture at a Goodwill and thought: "one day I will do something with this". With my impending move it was time to make a life choice. I can't pack and move every "maybe one day" item in my garage. It was too hot to play outside so I decided to play mixed media in the AC with the kids instead.

Read more »
Sunday, July 7, 2013
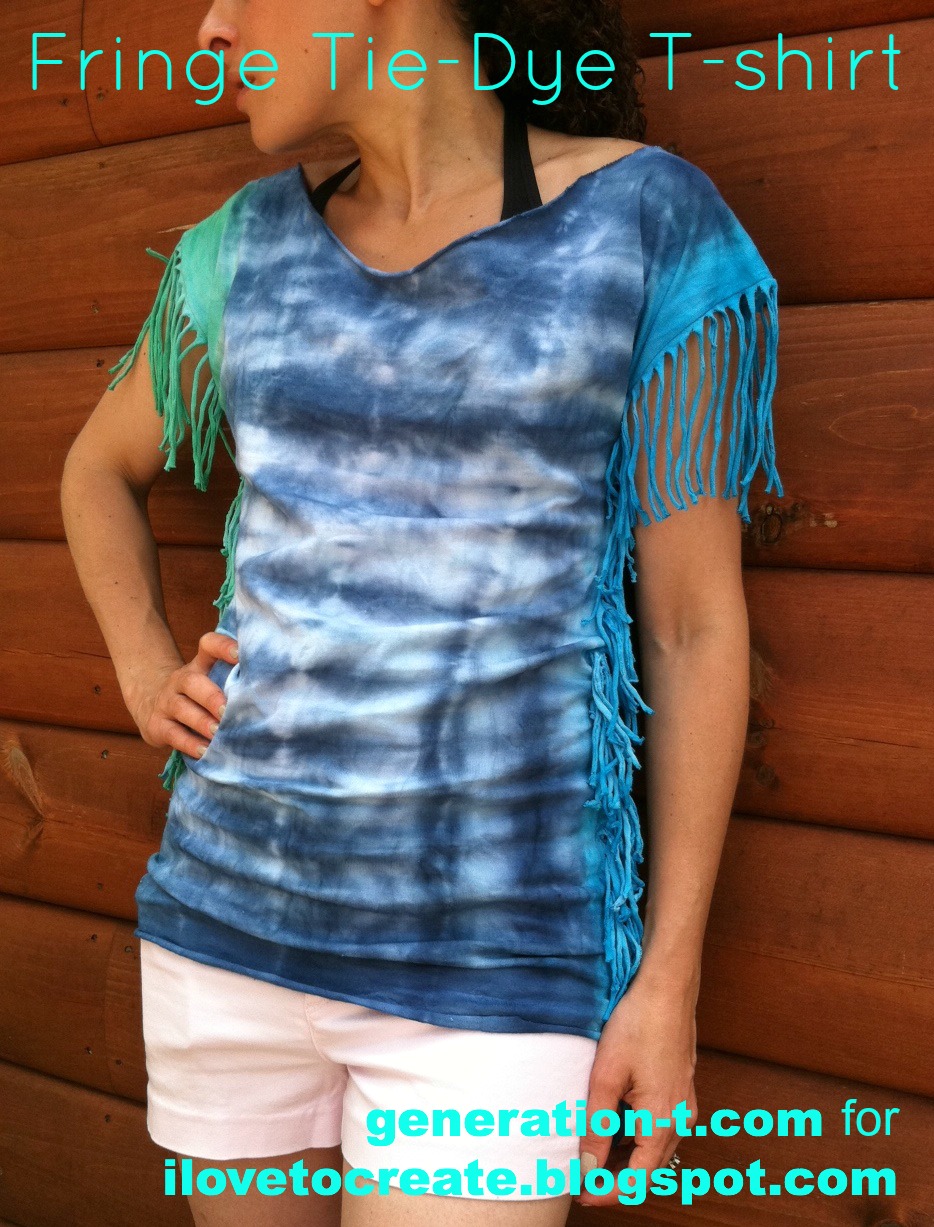
Altered Tie-Dye T-shirt Challenge Featuring Megan of Generation T
While most fringe T-shirts have the fringe tailing off the bottom, I went with horizontal fringe on this one. The side fringe gives nice movement and flow to the tee, and it's a great project for making a slightly-too-big T-shirt into a just-right T-shirt. Add a touch of ombre tie-dye, and it's a perfect summertime staple. Throw it over your bathing suit, and head beachward!
Read more »
Saturday, July 6, 2013
Neon Ombre Heart Freezer Paper Tee
Are you in love with the neon trend as much as I am? I don't know about you, but I'm not an all-over neon color girl. Neon is best for me when used sparingly! That's why I made this cute neon heart tee. It's just the right amount of neon to rock and it's super easy to make using the Tulip Neon Fabric Spray paints!
Read more »
Friday, July 5, 2013
Popcorn Tie-Dye Technique
OK, I didn't actually use popcorn in the making of this shirt, but you'll see in my video why I called it that name. It's a traditional technique from Japan, but I gave it my own rubberband twist! It's easy and the final look is spotty and fun!
You'll need a pre-washed T-shirt and lots of ruberbands - and most of all just one bottle of Tulip One-Step Dye. I used black.


Candy Crush T-shirt Tote Bag
I love a little bit of bling during the summer, so when I saw a giant bag of rhinestones at the craft store the other day, I knew I had to make something fabulous with them. Inspired by all the crazy Candy Crush talk in my family and at the office, I made this colorful and sparkly bag! It's the perfect tote to match my Candy Crush Color Bomb ring I made last week. Here's how you get the fun look for yourself!


What you need:
– Plain large t-shirt in grey
– Large rhinestones (you can buy value packs at the craft store)
– Sewing machine
– Various ribbons
– Painter's tape
– Scissors
– Wax Paper
Cut out your tote back from a plain shirt! This a great way to revamp that old tshirt in your closet. As you can see, the bag is already taking form with just a few cuts.
Sew the bottom of the bag shut with your sewing machine. You can also hand sew if you don't have a machine.
Rip off a sheet of wax paper and insert inside of the bag. It's there to protect the other side of the bag when you glue.
Rip off a few pieces of the masking tape and make a giant rectangle with the tape on the front of the bag. Arrange your gems in Candy Crush fashion. Make sure to have some in groups of three or four just like the game!
Now apply a small amount of Fabric Fusion to the back of each rhinestone gem and press in place.
Remove the tape guideline around your piece and let dry.
Cut several pieces of ribbon in 2 feet sections for each. Gather together and tie around the handle for a fun and whimsical touch to your bag. I also added my little Color Bomb ring I made last week as a cool accent to my bag.
Here's a couple details of my bag!
It's going to be my new summer market tote/ So sparkly and fun!
Wednesday, July 3, 2013
How To Decorate A Summer Hat!
It's summertime! That means bring your summer fashion game. It also means protecting yourself from the harsh sun rays. That doesn't mean you can't do in style!
Here's an easy diy on how to decorate your summer hat! With this project, you can make several decorated ribbon bands to go around your hat, giving it different looks whenever you want!
SUPPLIES:
- Aleene's Tacky Dot Rolls
- Tulip Fashion Glitter Shimmer Sheets
- Ribbon
- Measuring Tape
- A Hat!
First, measure your hat, then cut your ribbon according to size. Make sure to cut your ends with pinking shears!
Shimmer sheet: Place it glue side up on the ironing board and set your ribbon on top. Use a pressing cloth to carefully iron it in place. Cut off the extra. Repeat for the rest of the length of the ribbon.
For the gems, put the Tacky Dots on the back of the gems, then simply place them on the ribbon! After this, place a tacky dot on the back of your hat to connect the ribbon. I used one, but for security you can place them around the hat.
Other ideas - Use Puffy Paint, paint or stencils and glitter!
Go enjoy your summer! Mayainthemoment.com
Altered Tie-Dye T-shirt Challenge featuring Jeshua of Boi from Ipanema
When I was a kid, I use to be like, totally OBSESSED with ancient Egyptian culture.
I would spend hours at the library, reading books about Pharaohs and mummies and Nefertiti
*kids be like "Whaaat? What's a li-berry?*.....
A few of my favorite movies are The Prince of Egypt, The Ten Commandments and Cleopatra. All completely accurate tellings of ancient Egyptian culture, amirite?
I was completely enraptured with the mystique and magic of a great civilization, lost in time.
I've always considered traditional Egyptian chest-pieces super cool and interesting. Those Egyptians were ahead of their time, style included. I was inspired to do my own take on the chest piece look that can be dressed up for a night out or paired with a denim shorts or leggings for a more casual look great for both guys and girls.
Here's what you'll need:
-White cotton t-shirt
-Spray bottle
-painter's tape
Lay out your shirt and with your painter's tape, mark off a point about mid chest. I've found that marking off the "dye limit" point will help keep the collar at a reasonable place, because once you get going, it's kinda hard to cut yourself off! lol
Mix up your dyes and add the colors in alternating rings to DRY fabric. The key to this technique is to add the dyes in a clean "dots and dashes" pattern. Make sure that there is space between each dot of color and each section of your collar because the dye will need room to spread. If the colors are too close together, the end result may be more muddy than majestic and no one wants that to happen, right?
Thoroughly spray the collar of your tee to blend the colors. Try to keep the water ONLY on the dyed areas. The dyes will spread to any part of the fabric that's wet so you don't want the colors to spread too far down the tee. The goal is too keep the colors about mid chest to give the appearance of the Egyptian-styled chest piece.
Allow the shirt to rest for about 6 hours to ensure that the dyes really soak in and the fabric absorbs all of the pigment. Then wash according to instructions and wear!
I hope your new shirt makes you feel like a rad Pharaoh King slash Queen of the Nile because you will definitely turn some heads rocking this tee!
Until next time,
ttyl.
Jeshua
Check out more of my posts at boifromipanema.com
Subscribe to:
Posts (Atom)