Summer and tie dye just seem to go perfectly together and this DIY Tie Dye Beach Cover Up, made using Tulip’s Tie Dye Kit, is just the thing you need to keep cool and chic on the beach this summer! And with a fun contrast trim, you can easily wear this dress for lunch or drinks after a day of sunning! Stay cool!

TOOLS & MATERIALS:
1 T-shirt (Large/long enough to fit you like a short dress.)
1 Tulip Tie Dye Kit (I used Moody Blues)
Scissors
Sewing machine
Pins
Ruler or tape measure
Ric rac or other trim (optional)

step 1
Prepare your dye and the space where you will be dyeing your shirt.
I used my bathtub, but if you have a space where you can do it outside, that would work too.
First I laid down a large trash bag, then two layers of paper towels to catch the drips. Then I used a baking rack on top. The baking rack it really great to keep your fabric from sitting in the dye which can be bad especially if you’re using more than one color.
Fill the bottle with the dye powder up to the fill line with water and shake.

step 2
Time to tie your shirt.
I used an accordion pleat to make this design.
Lay your shirt out flat and make vertical pleats about 1.5 inches wide.
When your shirt is all pleated, wrap rubber bands about every 3 inches.
Make sure your rubber bands are very tight.
Make sure your rubber bands are very tight.

step 3
Lay your shirt on the baking rack you’ve prepared for dying.
Squeeze the dye onto your shirt in the center of each section.
Let your dye set for 6-8 hours. The longer you let your dye sit the stronger
and darker your color will be.
and darker your color will be.

step 4
When your dye is ready cut off your rubber bands and rinse your shirt.
Keep rinsing your shirt until the water runs clear. (This can take awhile.)
Then wash and dry your shirt according to the instructions that came with your dye.

step 5
Lay your shirt out flat and measure where you will cut.
You can also put your shirt on and pin along the neck where you want to cut.
Use a ruler or tape measure to make sure you cut a straight line from your neck to your arm hole.
TIP: Make the back side a little wider than the front.

step 6
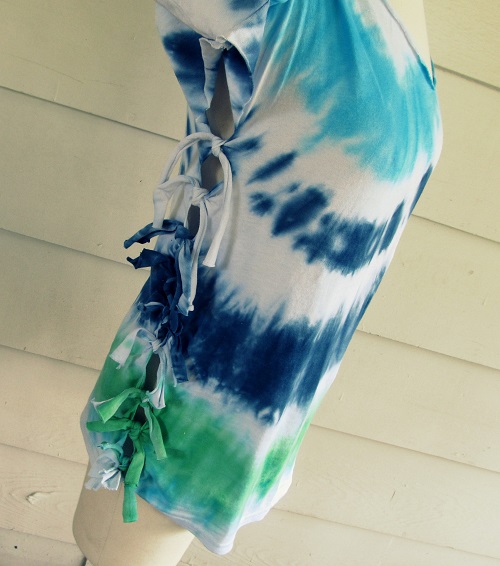
Cut around the neck band on the sides and down in a straight line to the arm hole.
Do this for both sides.
Do this for both sides.

step 7
Turn your shirt inside out and try it on.
Pin the sides of your shirt to fit snugly under your your arms, this will keep the armholes from gaping.
Take your shirt off and lay it out flat.
Use your tape measure to make a straight line from where you pinned your arm hole to the bottom hem of your shirt.
step 8
Using your sewing machine, sew a straight seam down each side of your shirt where you pinned it.
Before you turn it right side out or cut anything try it on again to make sure it fits the way you want.
Then cut off the extra fabric on your seams.

step 9
After all my sewing and cutting I couldn’t help but want to add something else. RIC RAC!!!
(Fortunately I had this great hot pink large ric rac just waiting to be used!)
Pin your ric rac to the bottom of your shirt and around your armholes.
Use your sewing machine very carefully sew your ric rac on right down the center of it and right along the edge of your shirt.


For more fashion DIY's from Trinkets in Bloom click here.
Add some sunnies, cute flip flops, sunshine and you’re ready for a day at the beach!